
DIY Custom Packaging for Your Business
Table of Contents:
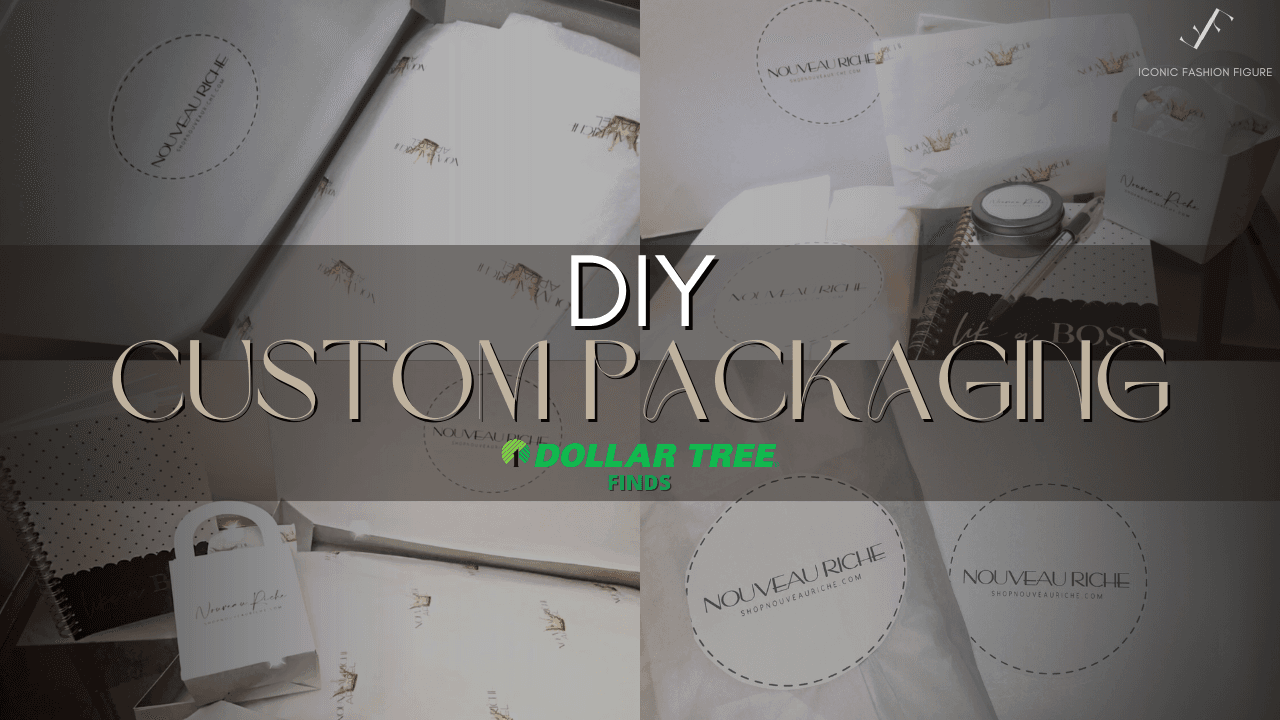
DIY Custom Packaging for Your Business with Dollar Tree Supplies
Custom packaging adds a professional touch to your business, but it can be expensive. However, using budget-friendly materials, you can create impactful custom packaging on a shoestring budget. Here’s how to achieve DIY custom packaging for your business using Dollar Tree supplies.
Why Custom Packaging Matters
First impressions count, and custom packaging helps create a memorable experience for customers. It enhances your brand’s identity and sets your products apart. Fortunately, with simple materials and creativity, you can make your packaging stand out without breaking the bank.
Essential Tools and Materials
What You’ll Need
To get started with DIY custom packaging, head to Dollar Tree and grab:
- Tissue paper
- Scissors
- Tape
Other Materials:
- Printer paper (standard 8.5×11 inches)
- A thermal printer (optional)
- Labels (can be sourced for free from UPS)
Why a Thermal Printer?
Using a thermal printer saves on ink costs as it prints in black and white without ink cartridges. If color printing is necessary, consider using Avery stickers compatible with regular printers.
1. DIY Custom Tissue Paper
Step-by-Step Process
- Prepare the Tissue Paper: Lay a sheet of tissue paper on a flat surface, ensuring it’s matte side up for better ink adherence.
- Cut and Attach to Printer Paper: Cut the tissue paper to match an 8.5×11-inch printer paper and tape it securely to prevent jams.
- Design Your Artwork: Create your logo or design in Canva or a similar program, setting it to a full-page canvas.
- Print Carefully: Feed the taped tissue paper through your printer, ensuring the matte side prints for a smudge-free result.
Pro Tip: Printing Larger Sheets
For larger tissue sheets, fold an 11×22-inch piece of tissue over a regular printer paper and tape it, then print on both sides for full coverage.
2. Creating Branded Stickers
Black and White Stickers
- Design a Sticker Template: Use a 4×6-inch canvas in Canva to lay out your logo.
- Print on a Thermal Printer: Print in black and white, aligning your design to avoid offset prints.
Color Options
If you prefer color, Dollar Tree’s shipping labels can be printed using a regular printer for vibrant stickers.
3. Custom Gift Boxes
Easy Branding for Boxes
- Choose Dollar Tree Gift Boxes: Available in packs of three, these boxes are a great base.
- Add Stickers: Print and cut your custom stickers to apply to the front or top of each box.
- Level Up with Legal Paper Printing: If you have a printer capable of handling 11×14-inch paper, print directly onto larger gift boxes for a seamless look.
4. Additional Packaging Ideas
Branded Favor Boxes
- Perfect for promotions or events, small favor boxes from Dollar Tree can be customized using printed stickers or direct printing.
Notebook Add-Ons
- Attach a business card holder to a Dollar Tree notebook to turn it into a promotional item. Glue the holder to the notebook cover and slide in your business card.
5. Promotional Product Ideas
Budget-Friendly Additions
- Pens: Insert a branded slip inside clear-cased pens for a simple promotional item.
- Lip Balm and Tins: Add stickers with your logo for a unique branded touch.
- Fortune Cookie Promos: Cut branded strips of construction paper and fold them into fortune cookies with special offers inside.
Conclusion
Creating DIY custom packaging for your business doesn’t have to be expensive. By using simple materials from Dollar Tree and a touch of creativity, you can elevate your packaging and create memorable customer experiences. Start small, experiment, and see how custom packaging can enhance your brand’s appeal.
Save your business some money and check out more of my DIY hacks for your business.
FAQs
- Why use a thermal printer for custom packaging?
- It saves on ink costs and prints efficiently in black and white.
- Can I print on tissue paper with a regular printer?
- Yes, but you may need to use Avery stickers if you want color.
- How can I secure custom-printed tissue paper?
- Tape it carefully to printer paper to ensure smooth printing.
- What other items can I customize from Dollar Tree?
- Favor boxes, pens, and lip balm containers are all easy to brand.
- Is DIY packaging worth the effort?
- Absolutely, it’s a cost-effective way to enhance your branding and impress customers.
Watch the full video below.
Be sure to like and subscribe!
Key Timestamps in this video:
00:00 – Introduction
DIY custom packaging ideas for your business using affordable Dollar Tree products.
00:21 – Overview of the Video
Explaining thermal printers versus regular printers and their cost benefits.
01:29 – Project 1: Custom Tissue Paper
Printing logos onto tissue paper using a simple DIY setup.
03:43 – Adjusting Tissue Paper Sizes
How to customize larger tissue paper sizes for clothing or other products.
06:37 – Additional Tissue Paper Tips
Improving logo alignment and creating different design layouts.
11:12 – Project 2: Branded Gift Boxes
Adding logos to gift boxes using stickers for an upscale packaging look.
13:08 – Project 3: Favor Boxes for Promotions
Using lightweight favor boxes for promotional or giveaway items.
16:24 – Project 4: Custom Promotional Products
Creating branded pens, lip balms, and chargers to increase brand awareness.
25:55 – Project 5: DIY Fortune Cookies
Making promotional fortune cookies with printed discount codes.
28:07 – Project 6: Branded Notebooks
Turning plain notebooks into branded items with business card holders.
30:38 – Final Thoughts and Savings Tips
Emphasizing the value of Dollar Tree finds and creativity for business cost savings.
31:14 – Closing Remarks
Encouraging viewers to like the video and explore more DIY ideas for their businesses.
You may find these helpful as well: